Adding a Schedule to Internals
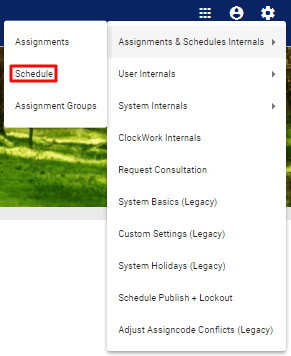
To add a schedule to Internals, click on the  System Settings icon in the upper right corner of the homescreen. Select Assignment & Schedule Internals and then choose the Schedule option.
In the Schedule Internals page, click on the Add Schedule button.
In the Add Schedule pop up, type in a name in the Schedule Name field then choose a type from the Schedule Type dropdown menu, a group from the User Group dropdown menu (required for Primary schedules), the layout preferences from the Schedule Default Layout - Admin and Schedule Default Layout - User dropdown menus, and a category from Schedule Category dropdown menu.

When done, click on the  button, which will prompt a New Schedule Progress pop-up box, where the user can be guided, step by step, through the schedule creation process.
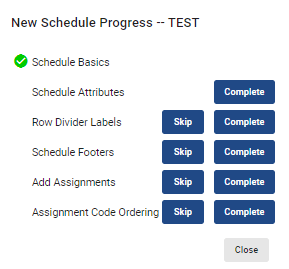
By hitting the  button next to each category, the user will be redirected to another pop up or page where that step can be finalized. To skip a step and move on to the next, hit the
  button.
When done, the system will alert you that all steps have been completed.

Video Tutorial: Add a Primary Schedule
How do I add a primary schedule in Physician Scheduling: A short video of adding a primary schedule
Video Tutorial: Add a Composite or Master Schedule
How do I add a composite or master schedule in Physician Scheduling: A short video of adding a composite or master schedule