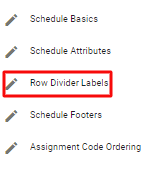
Row Divider Labels
To edit a schedule under Internals, click on the  System Settings icon in the upper right corner of the homescreen. Select Assignment & Schedule Internals and then choose the Schedule option.
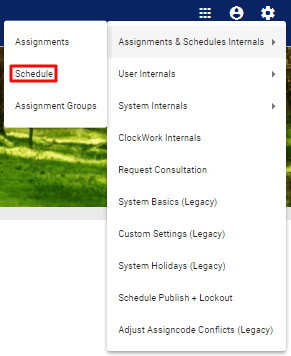
In the Schedule Internals page, click on the  icon next to the schedule you would like to edit. Select the
  Row Divider Labels option.
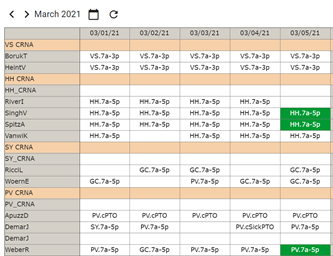
For reference, a Row Divider Label is a light orange row that separates user groups and assignments on a schedule.
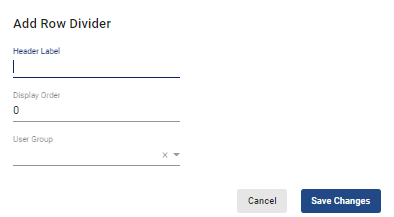
In the Row Divider Labels page, you will have access to a list of labels if they were previously implemented. You may also add new labels or remove labels as necessary.
To add a new label by assignment, click on the Add Divider by Assignment button, provide a header label and the display order in which is should appear on the schedule.
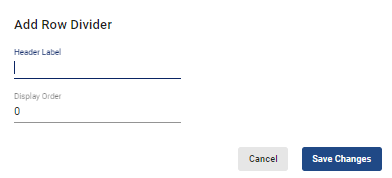
To add a new label by group, click on the Add Divider by Clinician Group button, provide a header label, display order and select the user group of people that should fall under that header.
Click on  when done.