Editing Basics
To edit users, click on the  Account Settings icon in the upper right corner of the screen. Choose the Manage Users option. This action will take you to the Manage Users page.
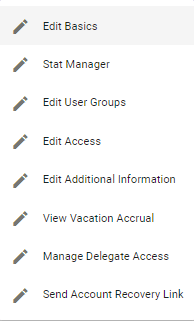
Click on the  button next to the user’s name in the list displayed on the Manage Users page then click on the
  Edit Basics option.
This action will prompt Physician Scheduling to populate a pop-up Edit Basic Info box.
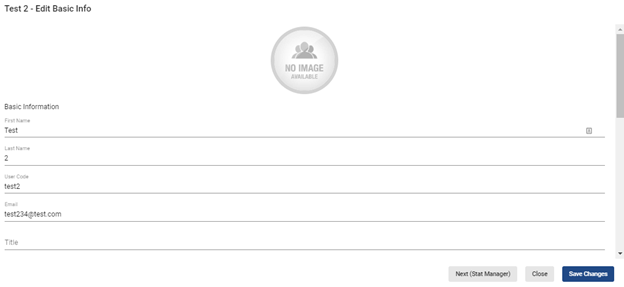
Once desired changes are made to the user’s basic info, click on the  button to save the changes.
A pop-up alert will let you know the changes were successfully saved.

To add or change background and text color to a user so that all of their assignments will be displayed in a particular color scheme in the future, scroll down to the Coloring Information section.
Choose a color from the Background color for user's assignments drop-down menu and a color from the Text color for user's assignments drop-down menu.
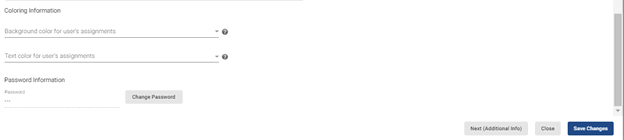
When done, hit  .
.
Disabled user accounts can be reactivated using the Active User option. This option is un-checked when a user is deactivated (for example, when they have exceeded the login time limit setting).
Re-checking the option and clicking Save Changes reactivates the user.
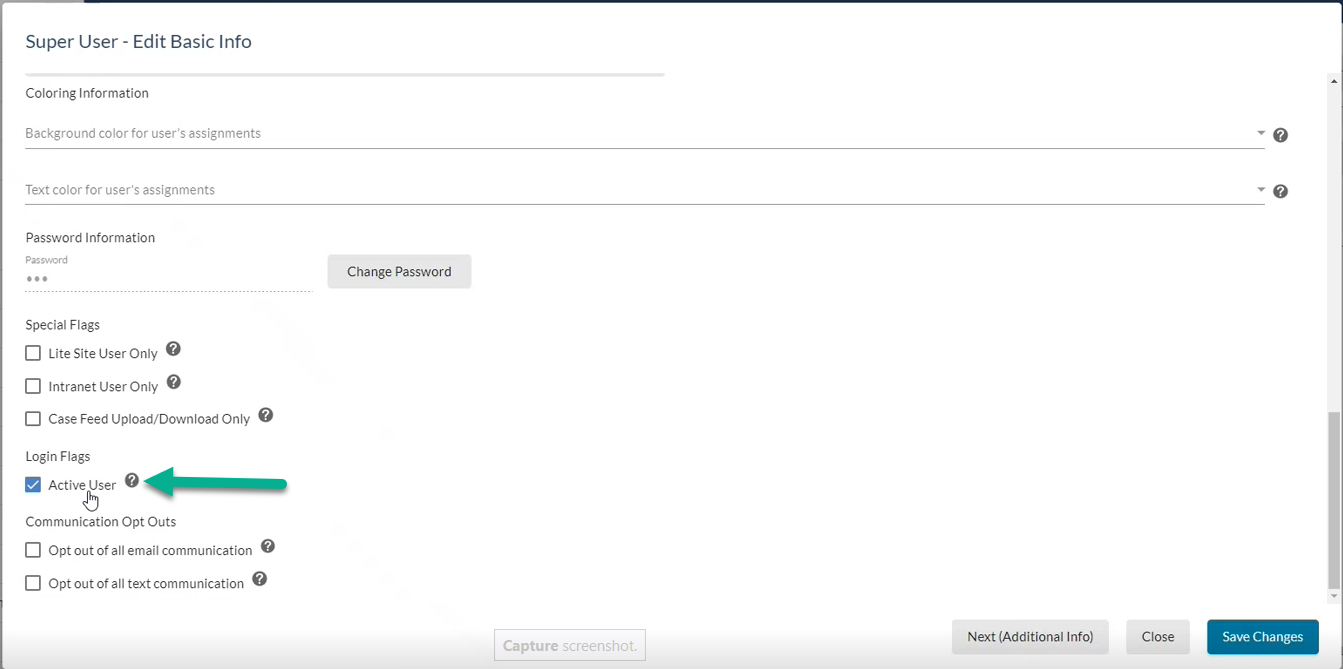
To set up which version of Flux the user will access upon login, scroll down to the Special Flags section and check one of the  options.
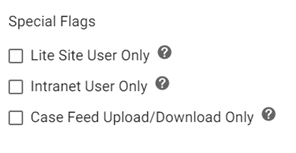
Once one option is selected, the user will be taken directly to the chosen version of the site whenever he or she logs in.
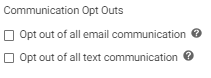
To ensure the user does not receive any email communications from the system with the exception of password reset emails, check the  Opt out of all email communication option under Communication Opt Outs.
To ensure the user does not receive any text messages from the system, check the Opt out of all text communication option.
Video Tutorial: Edit User Basics
How do I change a user's basic information in Physician Scheduling: A short video of editing a user's basic information