Generating a New Schedule
To generate a new schedule, click on the  Build Schedules option under Tools then choose an option from the menu.
This action will take you to a Build page where you will see all the options available for the Build Step you have selected.
Step 1: Generate Schedule
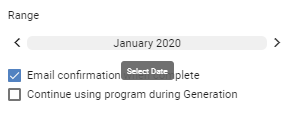
Choose a period for your calendar by clicking on the date under  .
.
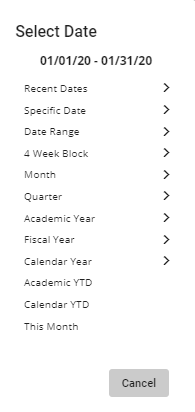
This action will prompt a pop-up Select Date box where you can choose periods ranging from recent or specific dates to 4-week blocks, months, quarters, full academic, fiscal, or calendar years, as well as academic and calendar years to date.
Once a date range has been selected, you can choose to email a confirmation when the schedule is created by clicking on the  box, and whether you would like to continue to use the program while the calendar is being generated by clicking on the
  box.
box.
If you do not take any action on those two options, you will receive an email confirmation when the schedule generation is complete.
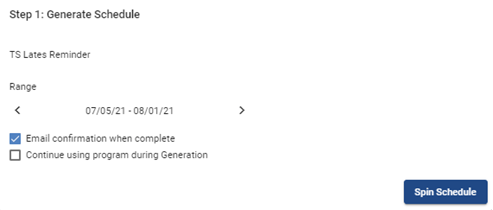
Once you’re done, click on the  button to generate the schedule. After the schedule generation is complete, you can navigate to the schedule and see assignments visible on the schedule. See Open a Schedule for more information. End users (i.e. users with View Access to the schedule) are only able to see assignments on the schedule if the publish date is either on or after the specified date.
Recurring Generations
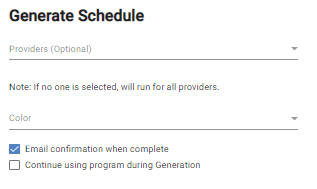
To run a recurring generation step for a single user, navigate to the Build Schedules section. Choose the user(s) in question from the Providers dropdown menu.
If no users are selected, the schedule will run for all providers.
As the system processes the request, you may check the status of the generation in the progress bar. If needed, the generation step can be interrupted midstream by the administrator.
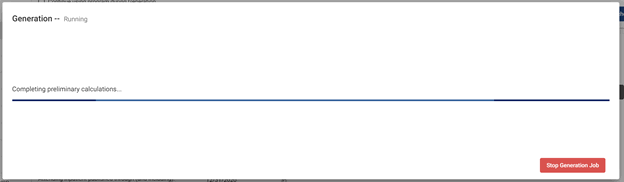
If the generation step is interrupted, the status will show as ‘Stopped by User’ in the Generation Logs.

Video Tutorial: Generate Schedule
How do I automatically generate a schedule in Physician Scheduling: A short video of building schedules