Schedules
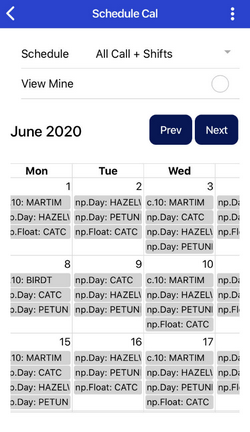
The Schedules view allows the user to see their assignments at a quick glance. The current default view is the Calendar view, which shows a typical Calendar layout.
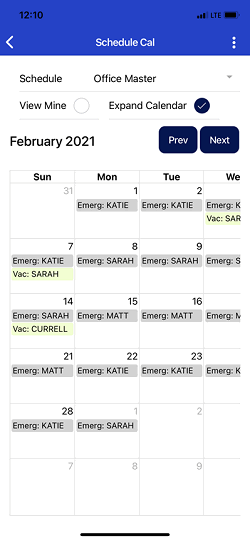
Selecting the Expand Calendar option will display all listed assignments. Leaving it unchecked will display limited entries.
Cells with a great number of assignments will display a + sign alongside a number, which represents the number of additional assignments available for viewing.
To switch to List view, simple tap on a calendar cell. This will bring up the List view for that day.
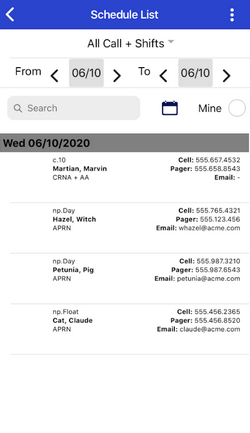
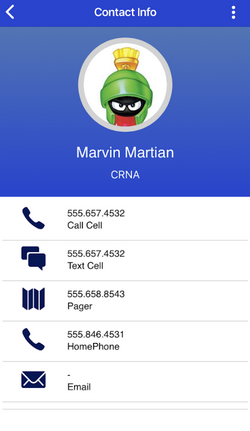
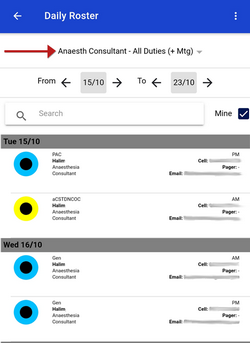
To open a user's contact card from the schedule list, tap on the person's name. This will bring up the Contact Info for the person.
You can change the viewed schedule by clicking on the current schedule's name and selecting the one you wish to view (indicated by the red arrow).
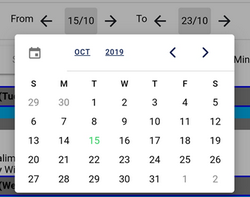
You can increase or decrease the number of days by tapping the arrows or by tapping on the grey date box to select the range of dates.
The Mine option allows you to toggle between seeing just your own schedule versus all users on the schedule for the selected dates.
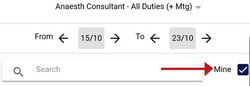
To see when or where another person is working, un-check the Mine option and use the search box. Type the person's name in to view their schedule for the selected dates.
Tapping on any name in the calendar will bring up their Staff Info page with their contact details.
Remember you can select a schedule to display when opening the app by going to the System Settings option under the Gear menu. A step-by-step guide is here.
Video Tutorial: Viewing Schedules
How do I view schedules in SpinFinity: A short video of navigating schedules in SpinFinity